[Ore Factory Squad] Starter Guide: Early Game & Upgrade Priorities
Ore Factory Squad
2026.08.04
Ore Factory Squad · GUIDE
Starter Guide (Early Game & Upgrades)
Ore Factory Squad is a Mining and Factory management game where you extract resources from purchased land, process them in your Factory, and deliver the finished goods. This guide is based on roughly 40 hours of play, after completing all currently implemented content.
It covers the overall gameplay loop, how to use each tool, how Processing and Delivery work, and where to spend your money first through upgrade priorities.
Gameplay Loop: Mining → Processing → Delivery
The core loop consists of three repeating steps.
1MiningExtract ore from purchased land (Properties)
→
2ProcessingBring ore back to the Factory and use machines to increase its value
→
3DeliveryShip goods for Contracts to earn money and experience
↻ 繰り返し
Use the money you earn to buy Upgrades and equipment, while experience raises your Factory Level and unlocks new machines and recipes. Here are the key points for each stage.
1
Mining
Properties
You must purchase land before you can mine it. Each Property has a different resource table, which you can check before buying, so choose one that provides resources your current Factory Level can process.
Mining Tools
Shovel: Covers a wide area and is your main tool for digging forward. Right-click to place dirt when you need to raise your footing
Pickaxe: Designed for ore nodes, with strong damage and speed
Ore Detector: Reveals the locations of underground ore
Jackhammer (unlocked through progression): Has a narrow digging area but works quickly, making it useful for breaking ore nodes fast
Dynamite (unlocked through progression): Clears dirt and ore across an area at once, but reduces the amount of ore recovered and costs $50 per use. It is difficult to make cost-effective until the Late game
Equipment
Mining Lift: Sends ore from underground to the surface. After placing the head, connect extension sections underneath to build it downward vertically
Lights / Floodlights: Make working in dark areas much easier
Mobile Office (Field Assets · Factory Level 3): Lets you use the computer at Dig Sites and recover night stamina with the coffee maker, but neither benefit is especially important
Mini-Excavator (Field Assets · Excavator License / Factory Level 5, $2,200): Presented as a fun extra rather than the top Mining tool. Controls are difficult, and digging can fall short of hand tools. Still enjoyable to use for fun
Hauling
Move mined ore using a combination of your Backpack, carrying items by hand, and loading a truck.
Trucks have limits for both total load and the number of containers they can carry (the starting vehicle holds 300 items, while larger models hold 600)
For small loads, carrying items by hand and traveling via the Bus Stop works well; use a truck for large loads
Manual piston hauling via the Bus Stop is still fairly quick, so there is no need to rush into buying another transport vehicle
2
Processing
Factory Processing follows this basic flow.
Place a container at the sorting station outside the Factory to move its contents into Storage
Install a Storage Output at an output point inside the Factory to retrieve items from Storage. It can also be configured to automatically supply machines
At the very start, the production flow is output ore → Stone Crusher (primary Processing) → Forming Press. More machines are added as you progress, making production lines more complex
For example: Stone → Stone Block → Stone Brick. Many items follow roughly three stages: raw material → first-stage material → finished product.
Factory and Warehouse Areas
The building is divided into a Factory area and a Warehouse area.
Factory area: The Processing area where machines can be installed
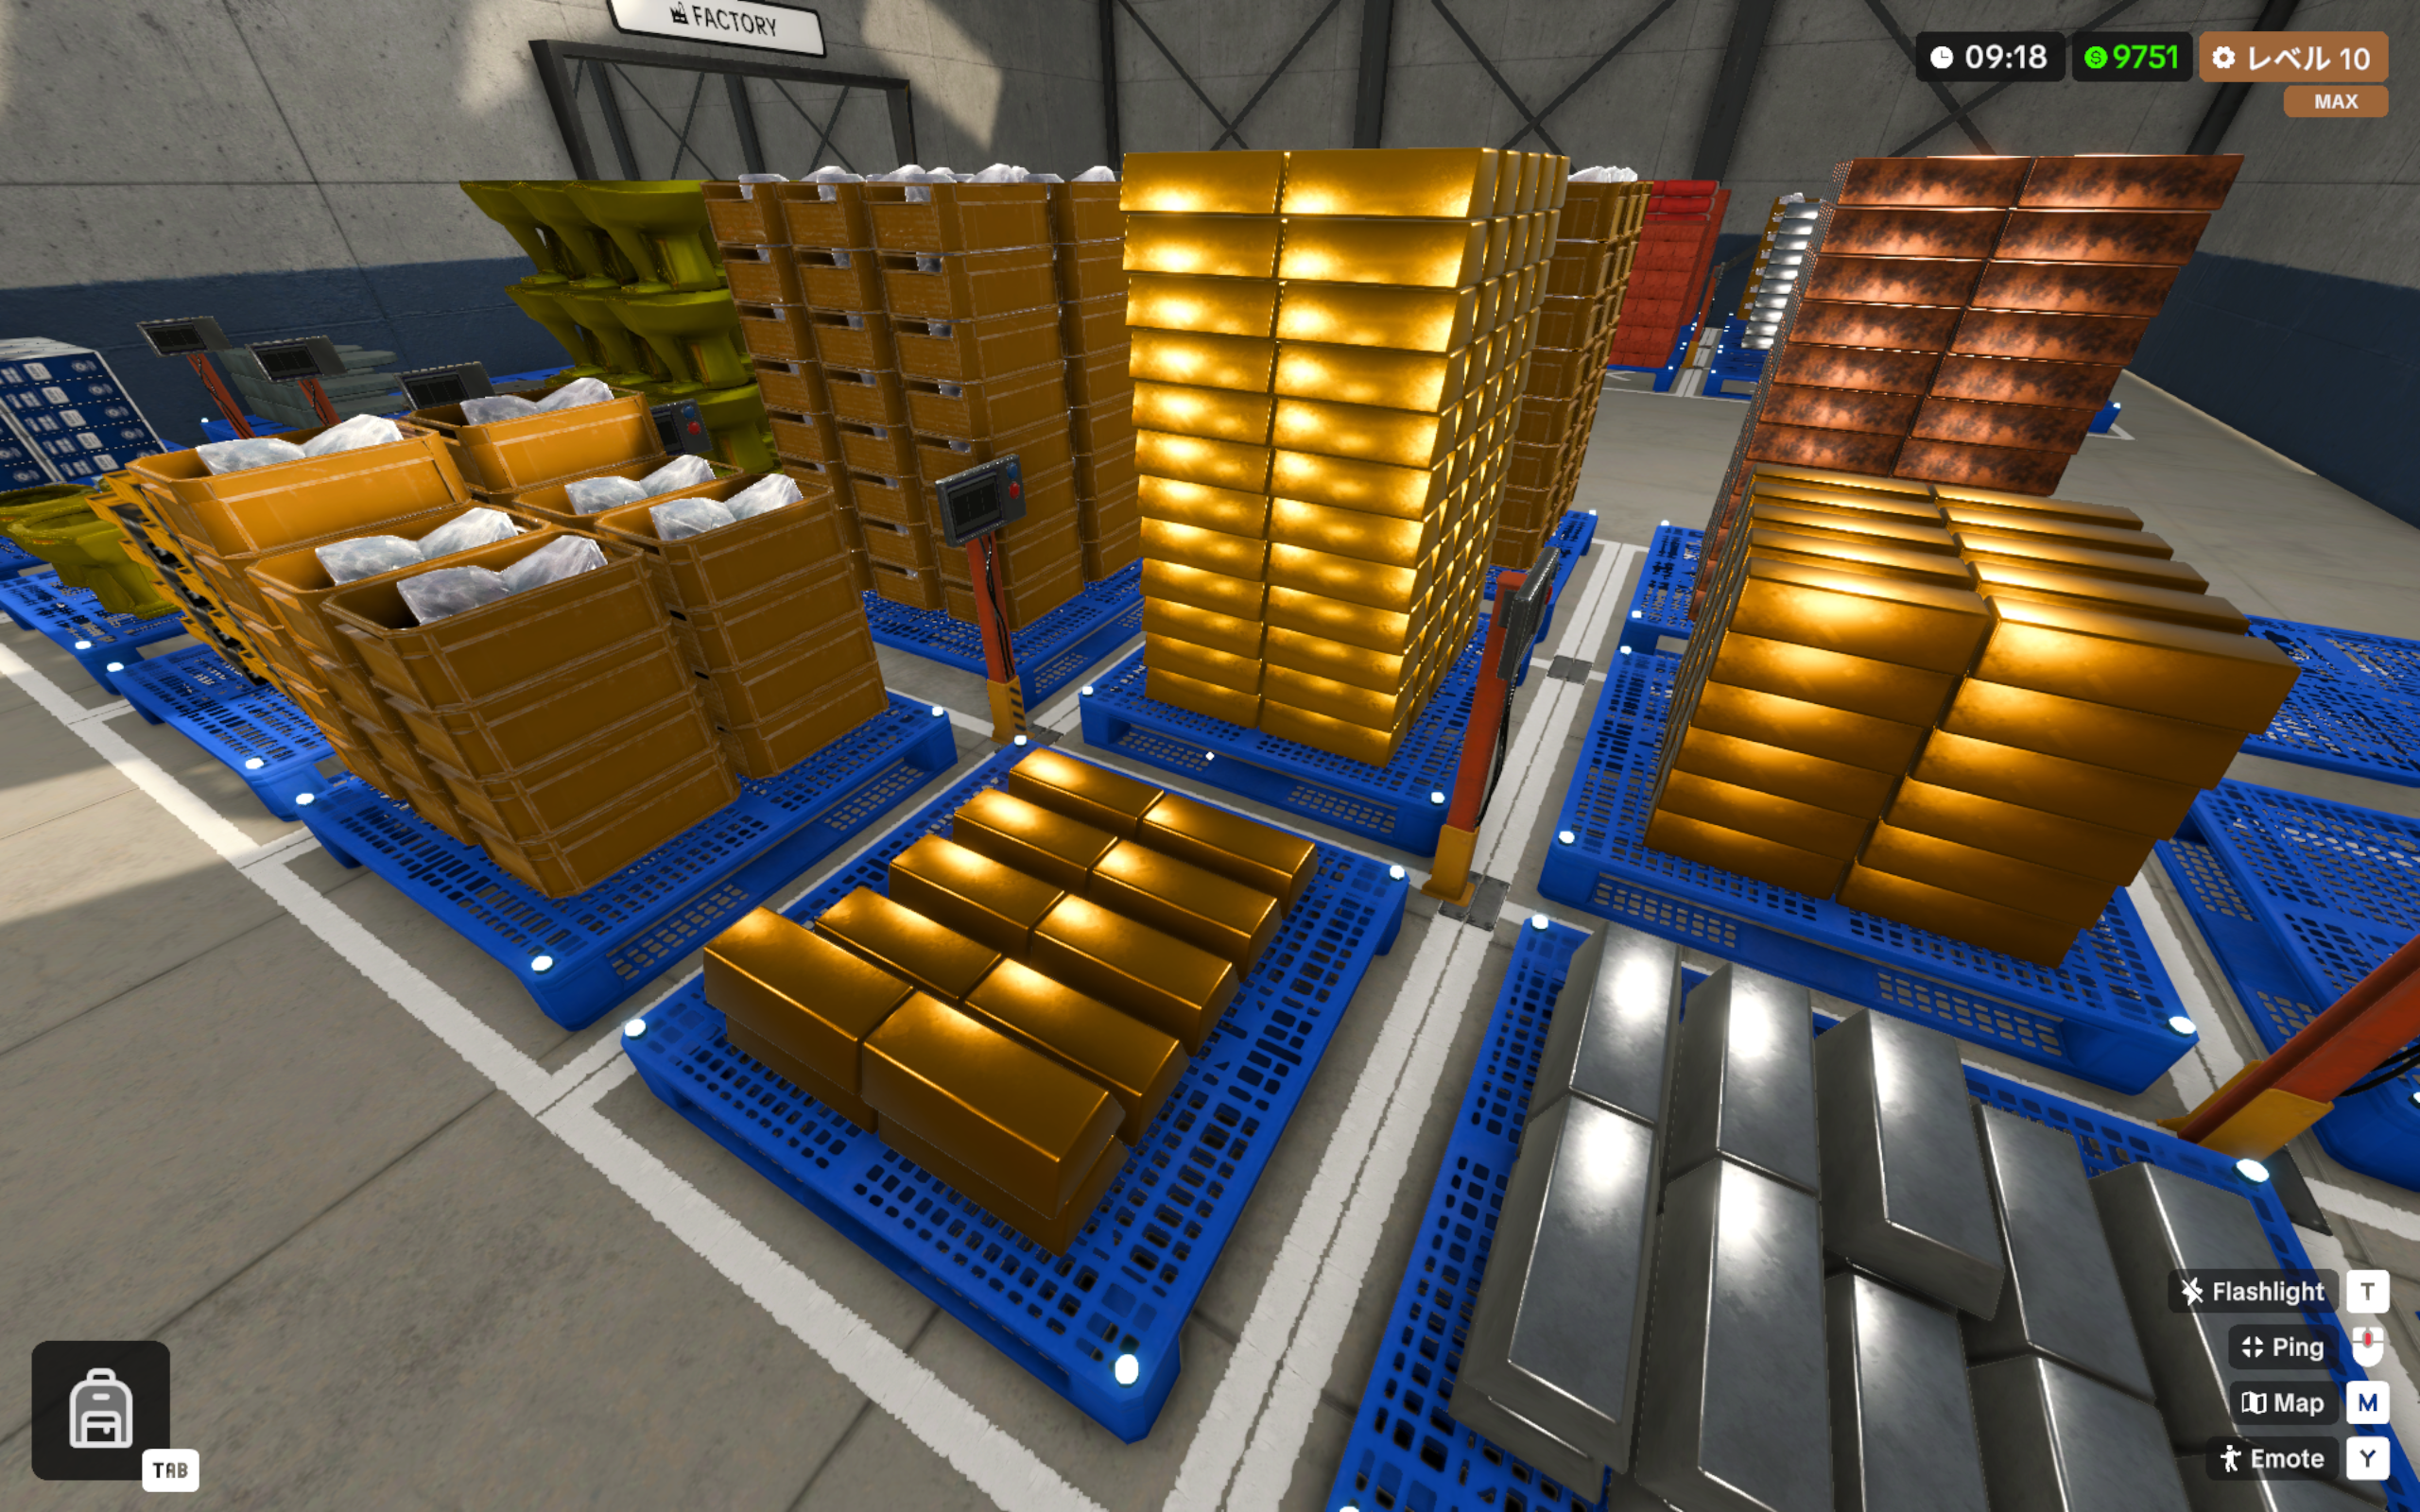
Warehouse area: An area where ore and other items can be stored on Pallets
Difference from Storage: Items inside Storage cannot be shipped or sold. Items in the Warehouse area can be shipped or sold, but they occupy physical space
The basic rule is simple: move anything you plan to sell or deliver into the Warehouse area, and keep Processing materials in Storage.
3
Delivery
Delivery takes five steps.
1. Accept a Contract: Use the PC to take a Contract
2. Call a delivery vehicle: You can do this from the PC, the terminal at the back of the Warehouse area, or the Delivery gate
3. Package the goods: Use the machine at the back of the Warehouse area to package the required items
4. Load the vehicle: Use a forklift to load the goods onto the vehicle at the Delivery gate
5. Dispatch the Delivery: Press the button beside the Delivery gate or use the Contract menu on the PC
Money-making Basics
As a rule, Contracts are better than stock sales. Stock-sale prices fluctuate, however, so this can sometimes be reversed. Leftover goods that are not needed for Contracts can be sold from stock, but repeatedly selling the same item lowers its market price. Producing a broad range of items is therefore more efficient.
In many cases, Processing increases an item's value compared with selling the materials directly. The size of that increase varies greatly, though, and some recipes actually lose value.
1
Examples of Profitable Crafts
The + value is the difference from the materials' combined base price.
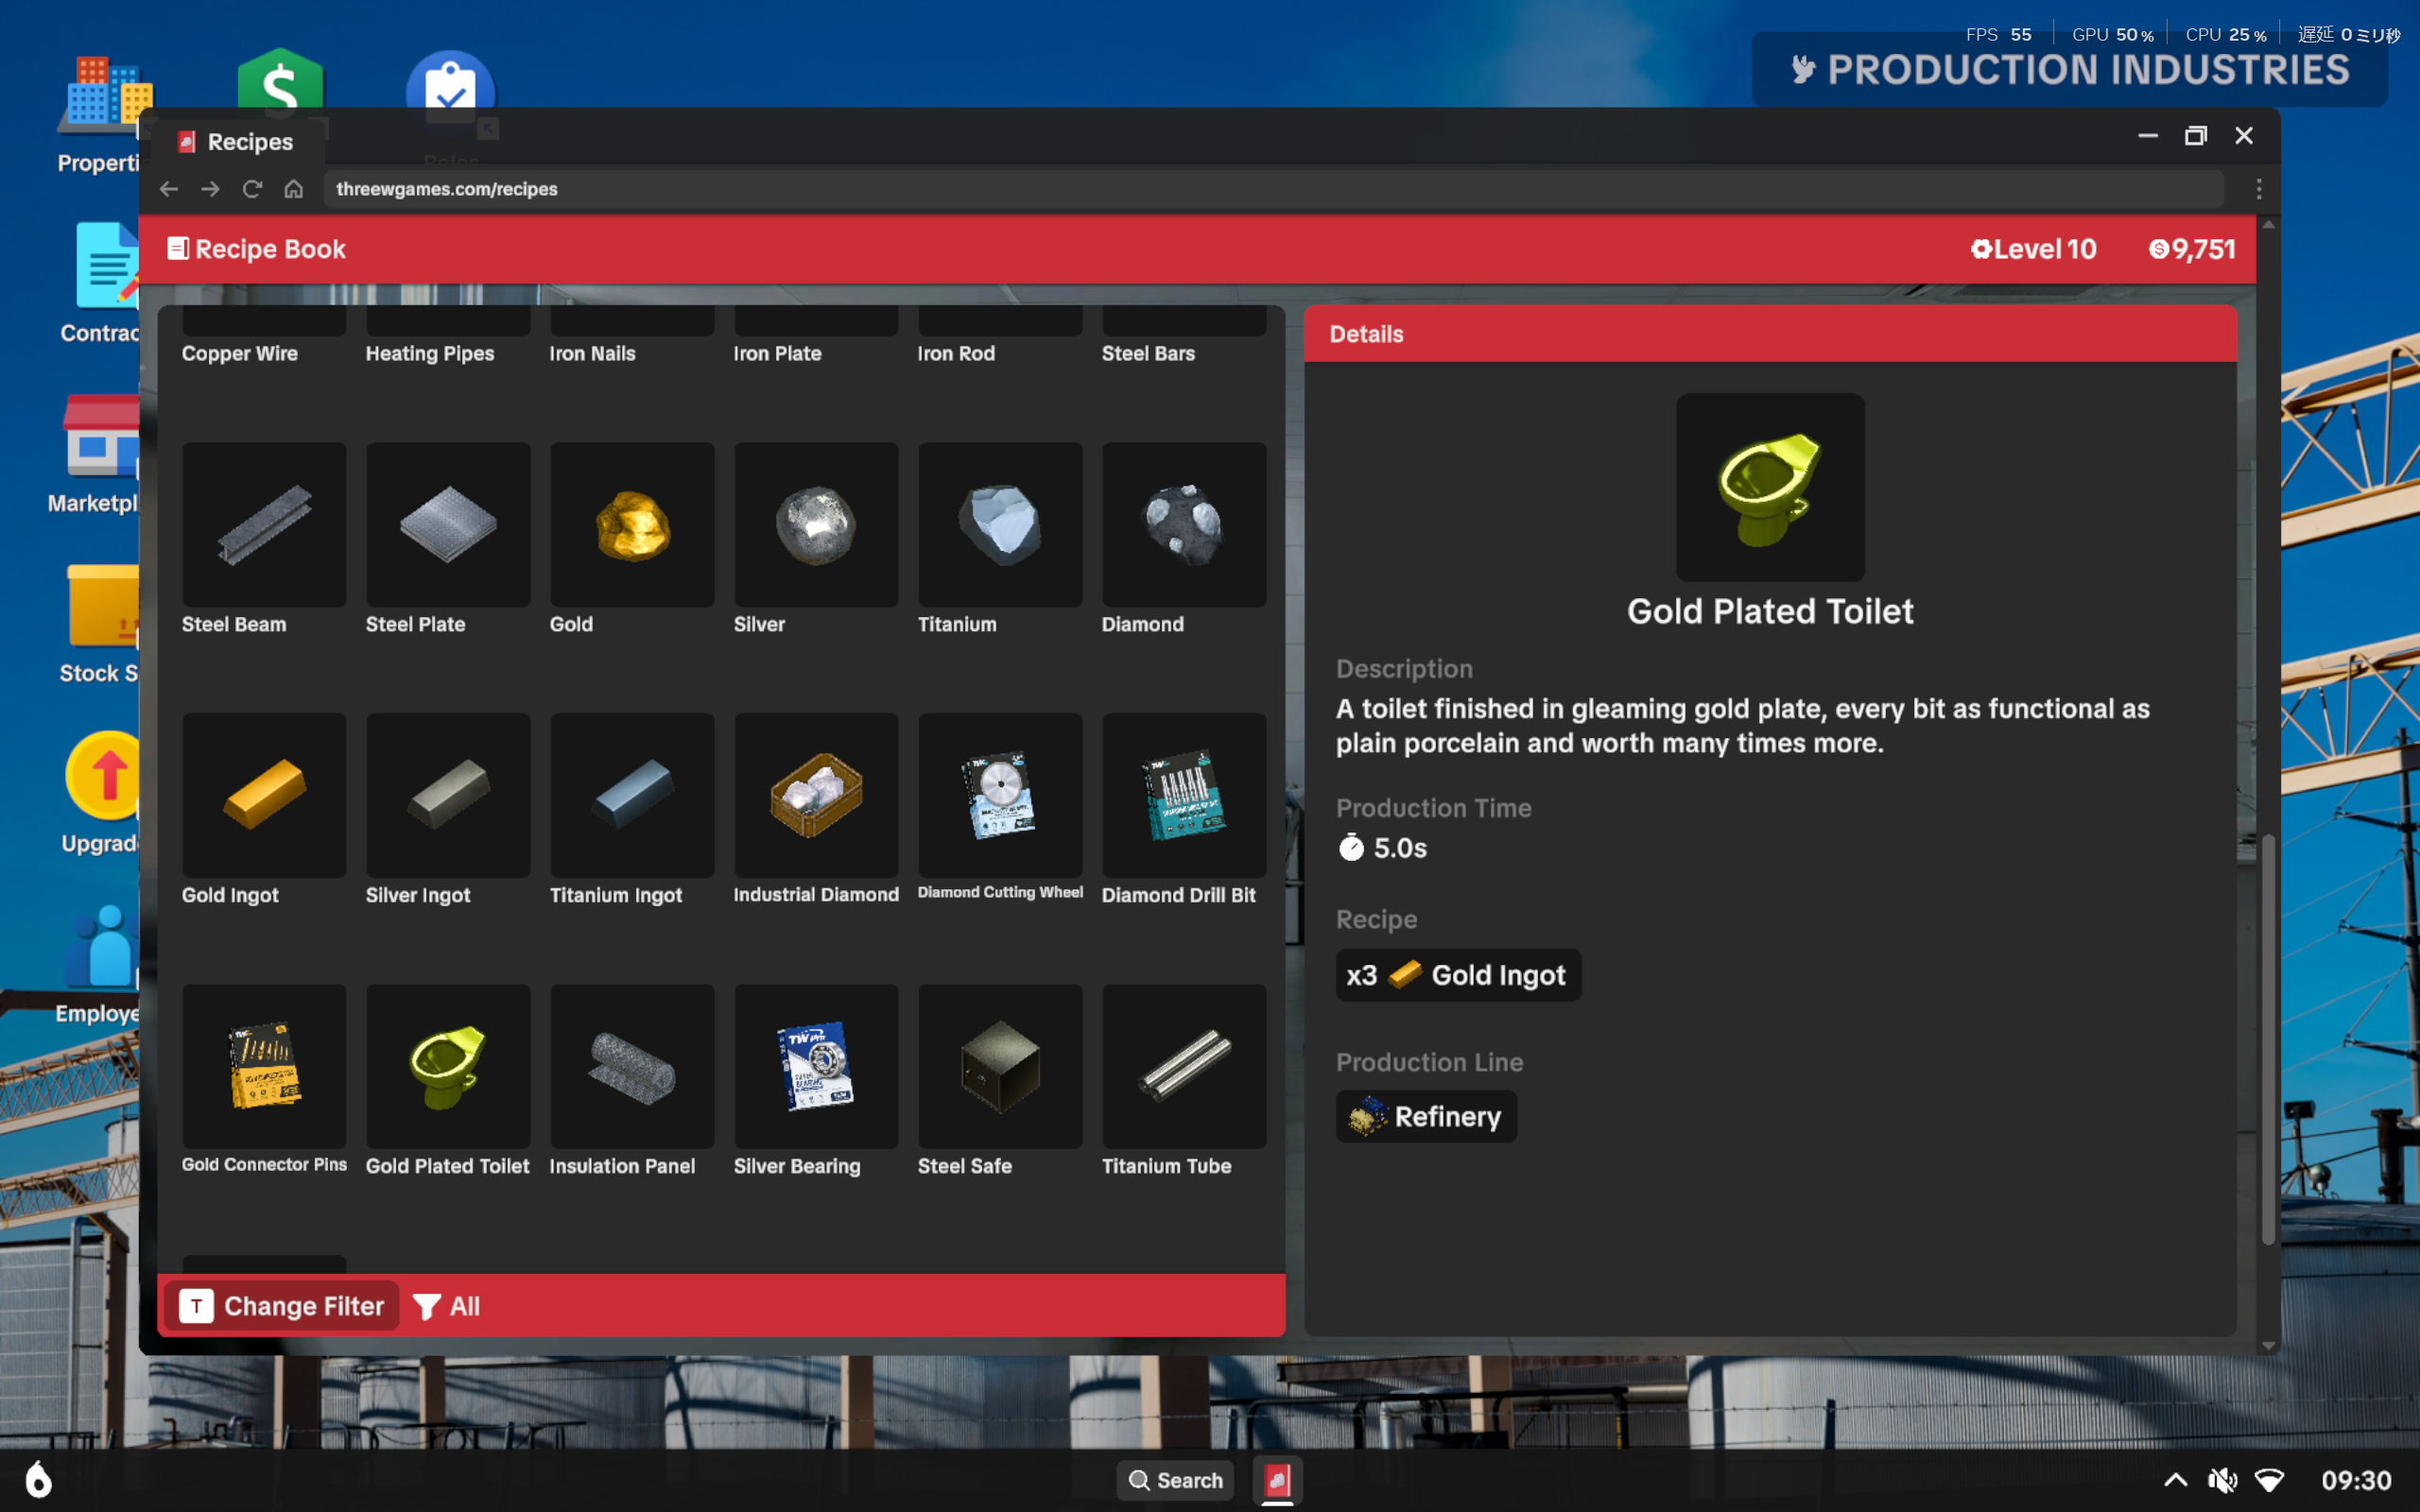
Form Glass (Sand×2 → 32, +18): Exceptionally profitable despite being available from the Early-game Forming Press
Iron Nails (Iron Ingot×1 → 39, +24): Highly efficient at +160%
Copper Wire (Copper Ingot×2 → 60, +16): Better than Copper Plate (-5), which uses the same materials
Steel Bars (Steel Ingot×2 + Iron Ingot×1 → 173, +86): One of the highest gains in the game
Diamond Cutting Wheel (Industrial Diamond×2 + Steel Plate×2 → 450, +90): A major Late-game Money-making item
2
Examples of Poor Crafts
Copper Plate (Copper Ingot×2 → 39, -5): Same materials as Copper Wire, but a loss. Prefer Copper Wire
Stone Brick (Stone Block×2 → 10, -2) / Clay Brick (Clay Block×2 → 14, -2): Slight losses after the block price increase. Treat them as Contract fillers
Titanium Ingot (Titanium×2 + Crushed Coal×1 → 60, +10): Decent gain, but still mainly an intermediate for Titanium Tube
※ Stone / Clay / Limestone Blocks now gain +2 from primary Processing (post–August 2026 update).
The separate Money-making guide explains which recipes make or lose money in detail, alongside the full item price and material data. You can find it in the related articles below.
Upgrade Priorities: Where to Spend Your Money
Here is the short version of where your money should go.
Highest priority (★5–4): At least one of every Processing machine / Shovel and Pickaxe / Metal Processing License and Material Refinement License / Warehouse Automation License Tiers 1–2 / Fleet Management for hiring Miners / Backpack Tier 1
When you can afford them (★3): Trading Ability / Factory Size / Backpack Tier 2+
Safe to delay (★2–1): Dynamite / Jackhammer / transport vehicles / Mobile Office / Employee Management / Ore Detector / Warehouse Automation License Tier 3+ / Excavator License and Mini-Excavator (★1 · fun extra)
The tables below explain the reasoning for each item.
In this guide, “Level” means Factory Level, which rises with experience and controls unlock requirements. “Upgrade” means the enhancement tier of an individual feature, matching the game's terminology. Costs are not listed because each upgrade tier has a different price.
1
License and Facility Upgrades
Item
Priority
Notes
Metal Processing License / Material Refinement License
★★★★★
Get these early once they are available and you can supply the required materials. They are prerequisites for unlocking Processing equipment.
Warehouse Automation License (Tiers 1–2)
★★★★★
Tier 1 automates Warehouse organization, packaging, and loading. Tier 2 automates Pallet placement on machine outputs. Later Upgrades improve Warehouse Robot efficiency. Tiers 1–2 are well worth taking.
Fleet Management (Hire Miners)
★★★★★
Each Upgrade increases the number of Miners you can Hire by one, up to Upgrade 4. Factory Level 6 is required to unlock Upgrade 1. Each Miner gathers roughly 100–170 resources per day, adding at least 10% of the player's Mining output of about 1,000 per day, or less in the Early game. You can also assign them to resources that are scarce at your current Property.
Trading Ability
★★★
Upgrades 1 and 4 increase the number of simultaneous Contracts but are rarely necessary. Upgrade 2 adds more Daily Contract options and gives you a wider selection. Upgrade 3 improves the chance that a higher Price Negotiation request succeeds and is worth taking. Upgrade 5 has little effect.
Factory Size
★★★
Each Upgrade increases the number of Storage Outputs you can install and lets you automate the supply of more item types. Upgrade when the Factory feels cramped or automation leaves you short on space.
Employee Management
★★
Upgrades 4 and 5 are worth taking eventually, but Handler-related effects are not very useful and can be delayed.
Warehouse Automation License (Tier 3+)
★
Improves Warehouse Robot performance but is not essential.
Field Assets · Mobile Office
★★
Field Assets Upgrade 1. Unlocks at Factory Level 3. Lets you use the computer at Dig Sites and recover night stamina with the coffee maker, but neither benefit is especially important.
Field Assets · Excavator License
★
Field Assets Upgrade 2. Unlocks at Factory Level 5. Required before buying the Mini-Excavator. Low priority, same as the vehicle itself.
2
Tool Upgrades
Item
Priority
Notes
Shovel
★★★★★
Directly improves Mining efficiency. Prioritize Upgrades that increase digging area and speed.
Pickaxe
★★★★★
Directly improves Mining efficiency. Prioritize Upgrades that increase digging damage and speed.
Backpack (Tier 1)
★★★★
Containerize handles up to 60 items at a time. The starting Backpack holds 50, so raising capacity to 60 increases how much you can carry and slightly improves the efficiency of containerizing and loading vehicles.
Backpack (Tier 2+)
★★★
The capacity gains are small, so efficiency does not improve much. These Upgrades are not a high priority.
Dynamite
★★
Clears a wide area and lets you dig forward extremely quickly. However, each use costs $50, making it difficult to justify before the Late game.
Jackhammer
★★
Performs like a stronger Pickaxe, but its Upgrades are expensive and the benefits are difficult to notice until it is fully upgraded. Safe to delay.
Ore Detector
★
Upgrades let it find ore farther away, but ranges beyond 15 m are rarely useful. The base version is already sufficient.
3
Purchases and Installations (Non-upgrades)
Item
Priority
Notes
Processing equipment (general)
★★★★★
Install at least one of every available machine. Higher-tier machines unlock recipes using more valuable materials, such as Silver instead of Iron, which raises your income ceiling. The corresponding License Upgrade is required first.
Vehicles (trucks etc.)
★★
These do not greatly improve efficiency. Manual piston hauling through the Bus Stop is fairly quick if necessary. The starting vehicle carries 300 items, while larger models carry 600.
Mini-Excavator
★
Costs $2,200. Requires the Field Assets Excavator License (Factory Level 5). The developers present it as a fun extra rather than the ultimate Mining tool. Controls are difficult, and digging can fall short of hand tools (and Dynamite). Still enjoyable if you want to use it for fun.



コメント